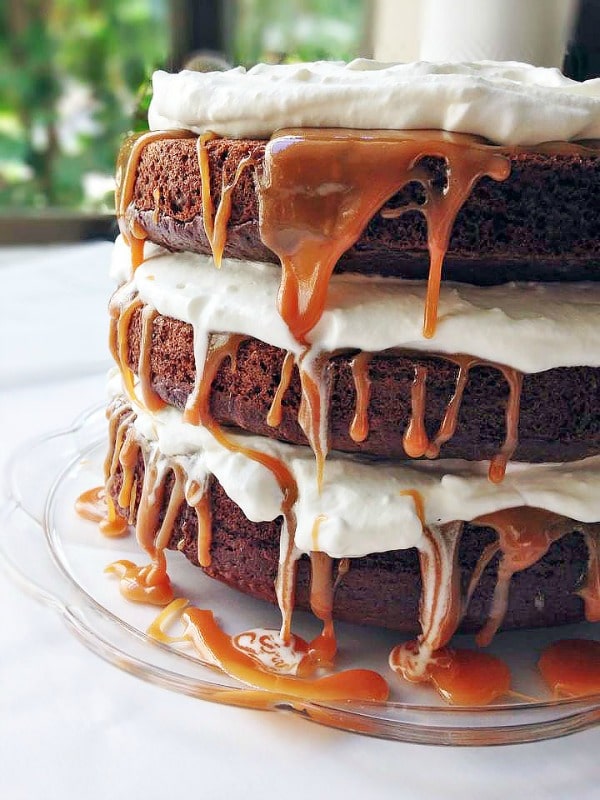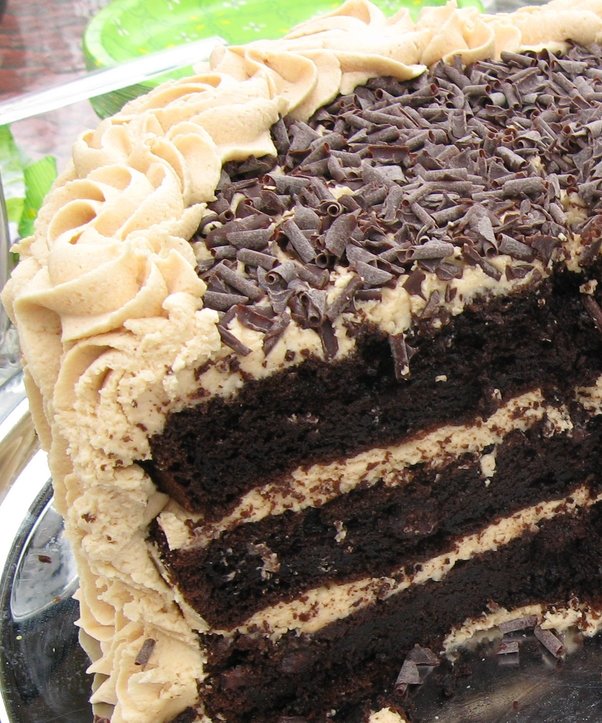
I’ve converted many a cake-hater with this little Peanut Butter Chocolate Fudge Cake. I’ve worked on perfecting this recipe for over a year, it’s easy and the yummiest, fudgiest cake you’ll ever find!
Peanut Butter Chocolate Fudge Cake
Category Cake
I've converted many a cake-hater with this little Peanut Butter Chocolate Fudge Cake. I've worked on perfecting this recipe for over a year, it's easy and the yummiest, fudgiest cake you'll ever find!
Ingredients
Cake:
- 1 box Chocolate Fudge cake mix (or any chocolate cake mix)
- 1 (3 oz.) box instant chocolate pudding
- 2 C. sour cream
- 5 eggs
- 1 C. melted butter
- 1 tsp. vanilla extract
- 1 C. chocolate chips
Frosting:
- 2/3 cup solid vegetable shortening
- 2/3 cup butter
- 1 3/4 cup peanut butter
- 1 cup milk
- 2 teaspoons Vanilla Extract
- 6-8 cups sifted confectioners’ sugar (approx. 2 lb.)
Instructions
For the cake:
- In a large bowl, beat first 6 ingredients until well blended. Mixture will be thick. Stir in chocolate chips. Pour into three greased 9” pans. Bake at 350 degrees for 25-40 minutes. (Keep an eye on them so they don’t overbake). Cool completely. I actually like to pop them in the freezer for easy assembling.
For the frosting:
- Cream shortening and butter with electric mixer.
- Add peanut butter, milk and vanilla.
- Gradually add 6 c. sugar, one cup at a time, beating well on medium speed. Scrape sides and bottom of bowl often. When all sugar has been mixed in, icing will appear dry.
- Add milk and beat at medium speed until light and fluffy. Add more sugar (or milk) as needed until icing is desired consistency (should be firm enough to hold a shape but still smooth)
- Keep icing covered with a damp cloth until ready to use. For best results, keep icing bowl in refrigerator when not in use. Refrigerated in an airtight container, this icing can be stored 2 weeks. Re-whip before using.
Final assembly:
- Place a small dab of frosting on a cake platter, set first cake layer on top (it’s easiest to assemble if the layers are frozen but not necessary). Pipe out (or spread) frosting over top of layer and add next layer. Repeat with final layer. Spread a layer of frosting on the very top and sprinkle chocolate shavings on top (or chocolate chips or chopped reeses peanut butter cups!).
- Using your large star tip, make stripes up and down the sides of cake. This is super-easy and you have no frosting crumbs!
- To finish, draw “S” shapes all around the top edge of the cake. Voila! You have decorated a professional looking cake in 5 minutes! Enjoy!
Recipe and Photo: Gourmet Mom on the Go / CC BY (Be sure to visit Gourmet Mom on the Go if you would like to see step-by-step photos for the cake assembly!)


